
1
/
of
5
Blankaholics
10" Wind Spinners
10" Wind Spinners
Regular price
$7.50 USD
Regular price
$9.00 USD
Sale price
$7.50 USD
Shipping calculated at checkout.
Quantity
Couldn't load pickup availability
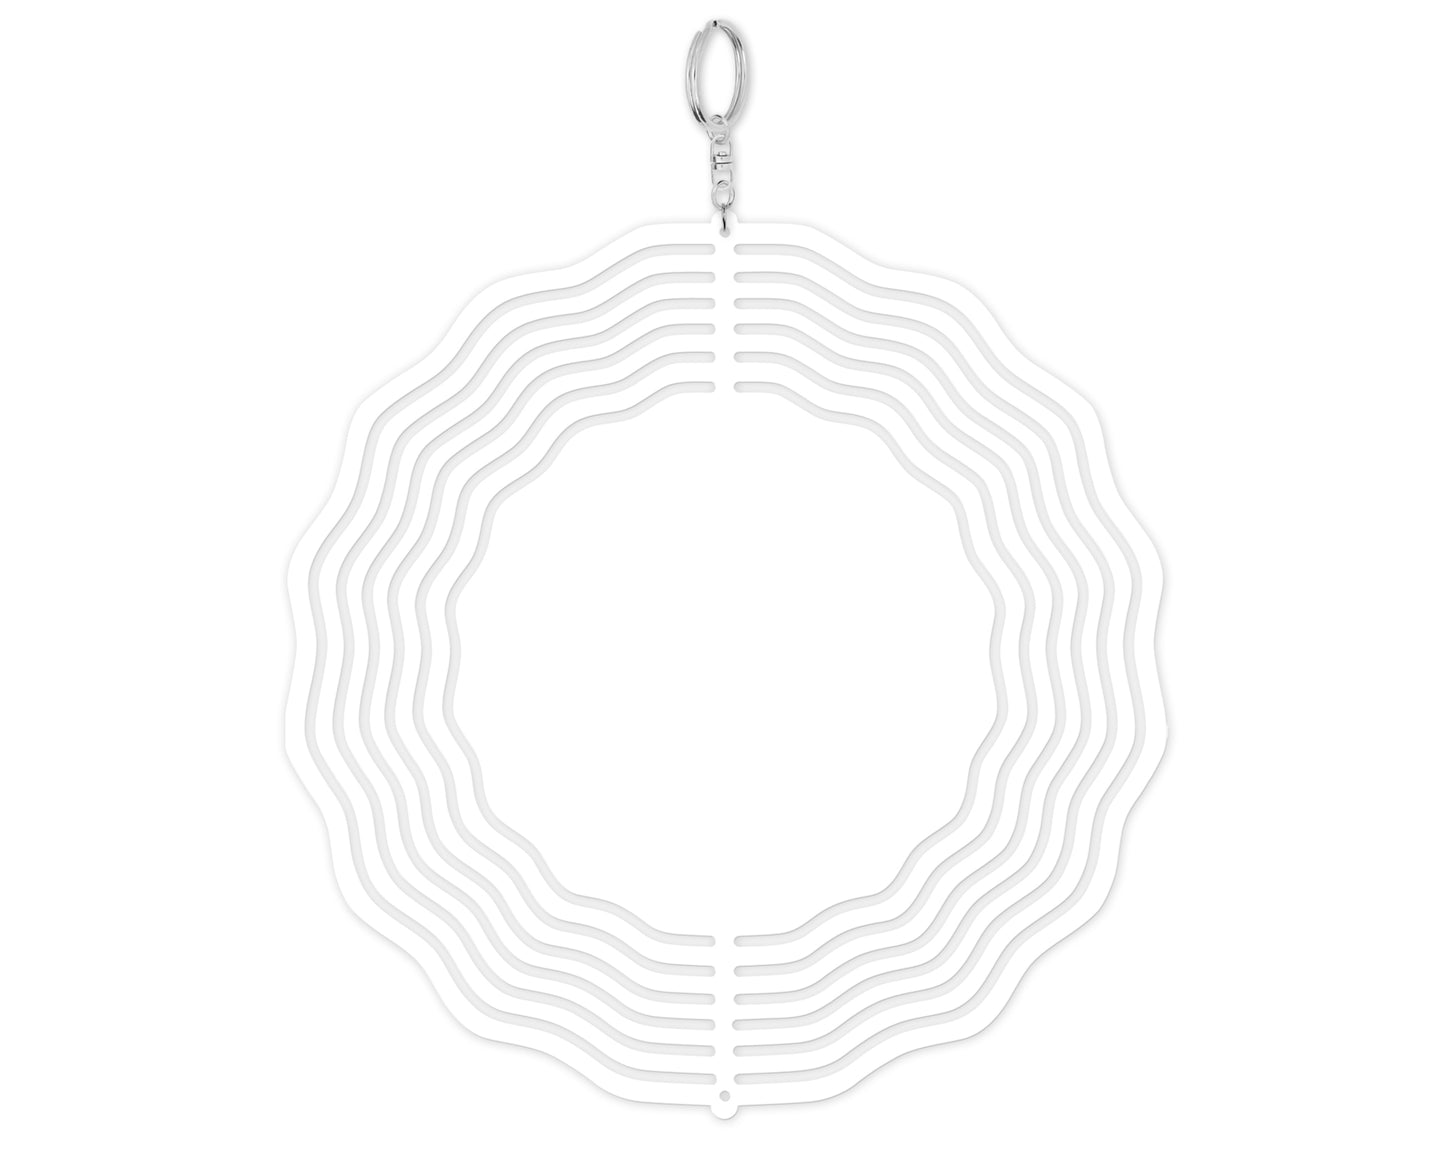
Let your yard be the talk of the town with these 10" Wind Spinners! Crafted of durable aluminum and featuring vibrant sublimation, these unique yard decorations will add a touch of life and color to any outdoor space. Hang them, spin them, and live life with a little bit more joy and pizzazz!
THIS ITEM IS READY TO SHIP
This aluminum blank is perfect for your project. Comes with a spinning hanger at top. Easy to sublimate.
Sublimation Instruction:
- Peel the protective film and wipe any metal shavings off spinner
- Wipe spinner down with alcohol wipes and let dry
- 385F for 60 seconds Please adjust your times and temperatures according to your press
These instructions are from Nancy Lesser and she gave permission to share them with you!
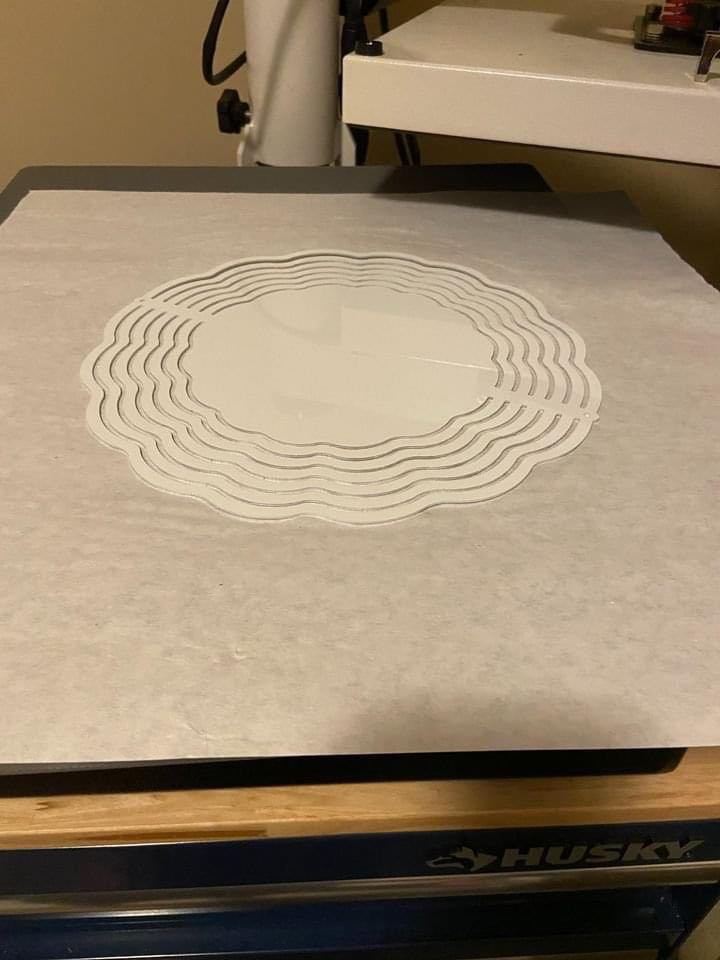
Wind Spinner Pressing Process:
** This is my process, and only a suggestion. Individual results may vary based on so many factors!! **
After noticing some paper residue and some ink transfer to the 2nd side, I changed up my process a little. I now press both sides of the spinner at the same time.
Humidity is definitely not our friend. So here’s a recap of what I do now.
1. Turn on the heat press. I use 385 degrees and time 55-60 seconds. (more on that later).
2. Remove the plastic film from both sides of the wind spinner. Wipe them down with a lint-free cloth and rubbing alcohol, trying to remove as many of the little metal shavings as you can that you’ll see between the rings.
3. Sit the spinner on top of a clean piece of butcher paper under the heat press – don’t close the lid – just doing this to make sure there is no remaining moisture on the spinner.
4. Sit the prints for both sides of the spinner under the heat press – again, don’t close the lid, this is just to make sure they aren’t damp/moist from humidity.
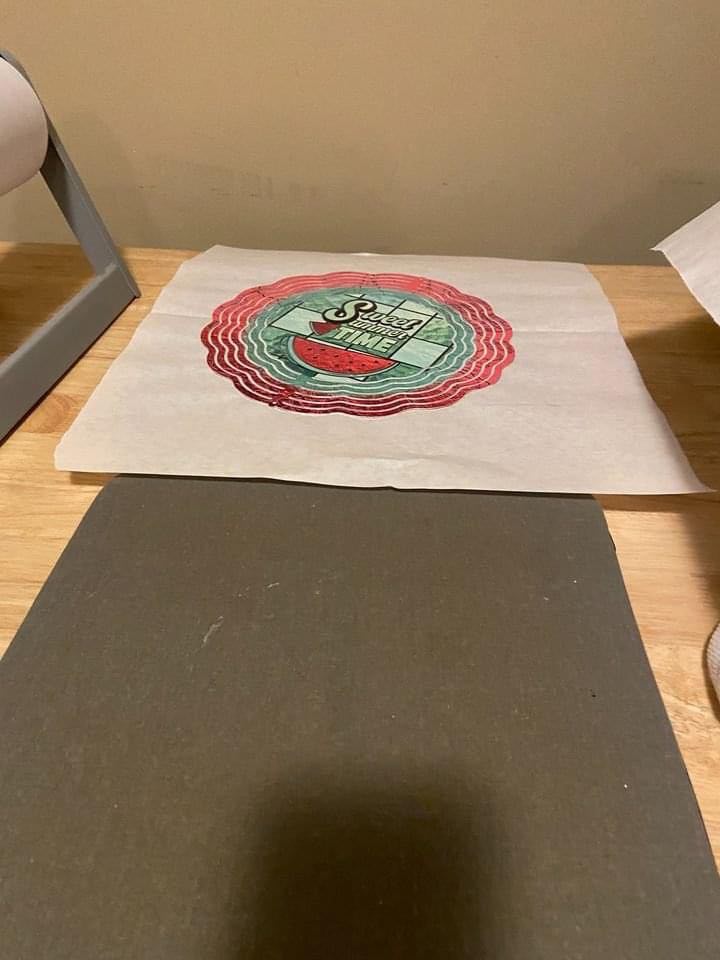
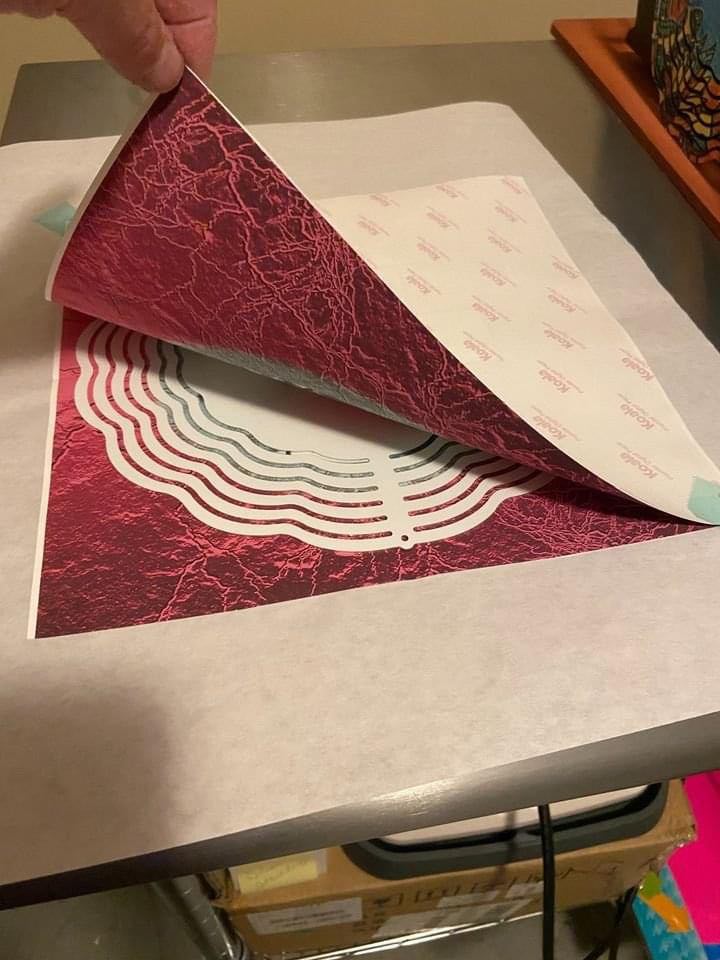
5. Making sure they are cool to the touch, place one print face up on a clean piece of butcher paper and align the spinner. Take the second print and put it face down on the other side of the spinner. This assumes that both prints are trimmed to the same size, so you don’t have to worry about lining up the face-down design.
6. Tape a corner or two of the design transfer to the butcher paper. This will make it easy to transport over to the press without the spinner or transfer moving.
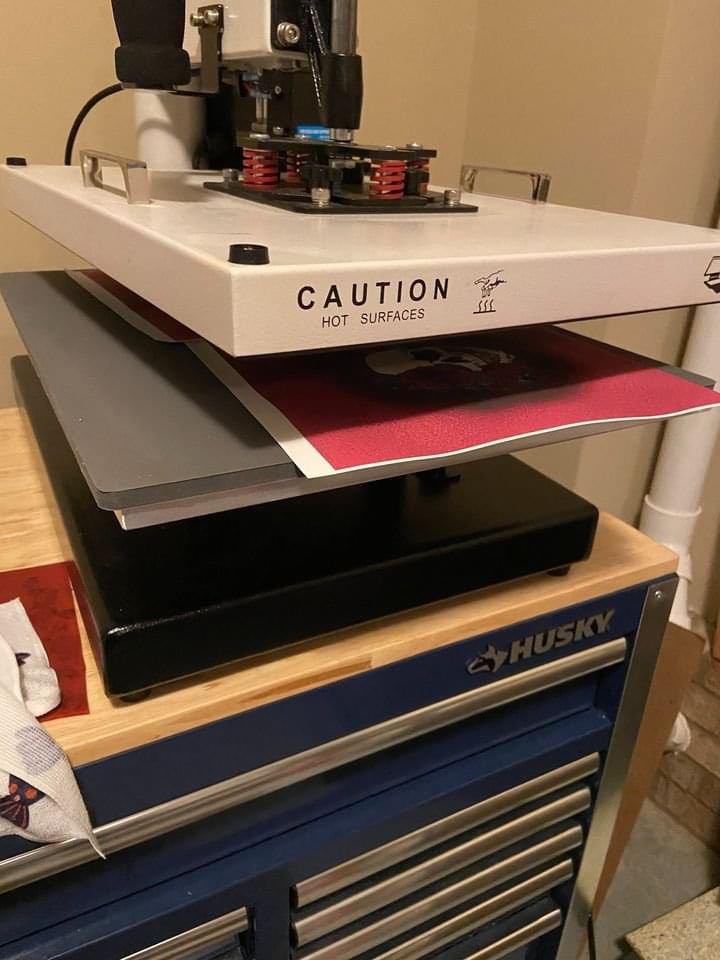
7. Press for 55-60 seconds at medium pressure.
8. Remove the spinner carefully (this is why I tape three corners – makes it easy to slide the spinner out from the free corner) and place it onto a safe surface. I put another piece of butcher paper onto my Cricut easy press mat and place it on there.
9. Wait for it to cool, and you’re done!
Pictures of her process are in the photo section above!
Share